How to create a watermark in Paint.net
1. Open Paint.net. Be sure that the Tools window and Layers window are open. Here I have the Tools window open in the upper left hand corner and the Layers window in the lower right hand corner. The Colors window is open in the lower left hand corner, but is not needed for this application.
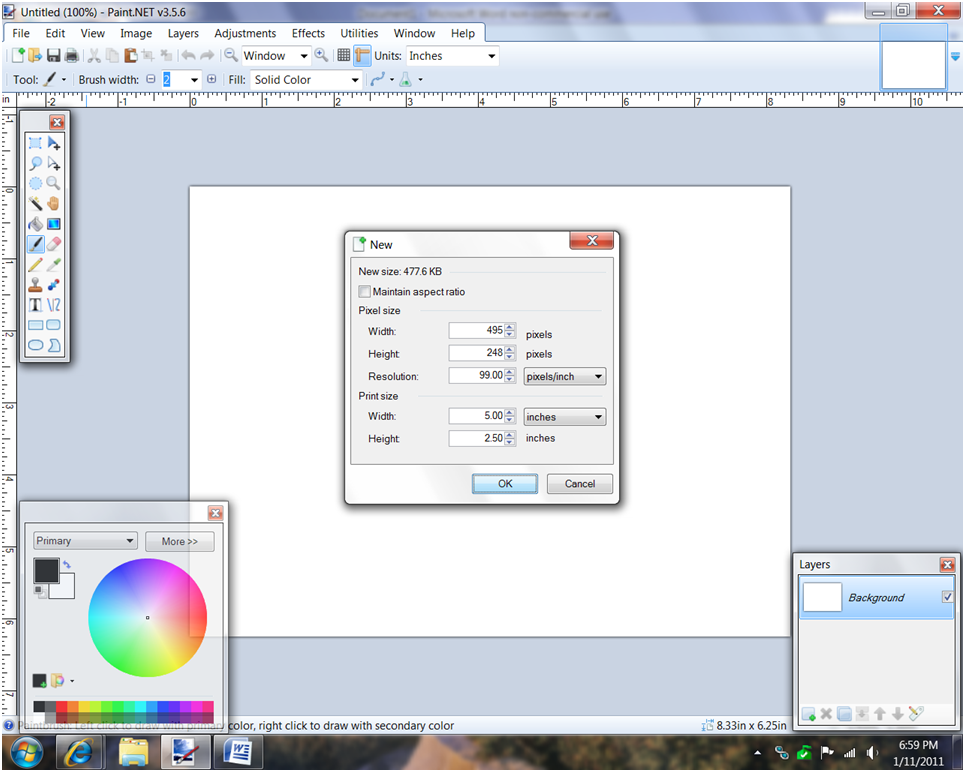
2. Open a new document by selecting New from the File drop down menu. (File / New)

3. A new window will open. Be sure that Maintain Aspect Ratio is not checked. Change the resolution to 99.00, width to 5.00 and the height to 2.50. The measurements should all be inches.
This is what your new document will look like.
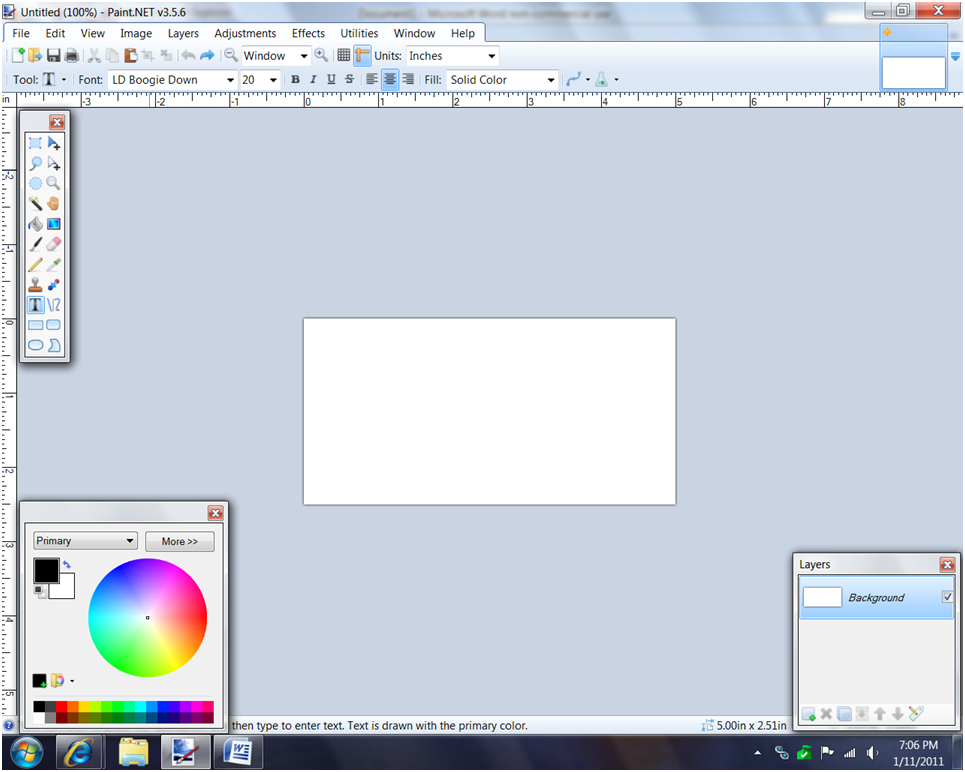
4. Select the Text tool from the Tools window.

5. Type in what you want your watermark to say and use the little crosshairs to move the text around to place it where you want it.

6. If you have an image you would like to include in your watermark, follow the next steps. If not, go to #13.
7. Open the image you want to include in your watermark. From the Edit drop down menu, select Select All. (Edit / Select All)

8. Your image will become highlighted. From the Edit drop down menu, select Copy. (Edit / Copy)

9. Click on the image of your text document in the upper right hand corner of the window. Then select Paste in to New Layer from the Edit drop down menu. (Edit / Paste in to New Layer)

10. Your image will appear over your text and there will be two layers in the Layers window.

11. Using the Move Selected Pixels tool from the Tool window, drag one of the corners to size the image. Then drag and drop the image where you want it placed.

12. From the Layers drop down menu, select Merge Layer Down. (Layers / Merge Layer Down)

Now notice there is only one layer in the Layers window.

13. Select the Magic Wand tool from the Tools Window.

14. Click in the white area of the document. The white around your image will become highlighted. Hit the delete button.

The background of your image will become checkered and the white will disappear. This tells you that the image is transparent. Be sure to check that all white areas are checkered (The center of the letter O or P for instance.) Otherwise, you'll have some areas that are not transparent.

15. From the Adjustments drop down menu, select Invert Colors. (Adjustments / Invert Colors)

Your text and image will become white.

16. From the File drop down menu, select Save As. (File / Save As)

17. Name your document and select where you want it to be save. Then click the Save button.

18. Click OK.

You're watermark is done!
Now you can follow my tutorial on placing a watermark using Paint.net to place your newly created watermark on your photos.

HOW TO PLACE A WATERMARK ON YOUR PHOTO USING PAINT.NET
1. Open Paint.net. You can get this free software at http://www.getpaint.net/download.html.
Be sure that the Layers and Tools windows are open. I have the Layers window open in the lower right hand corner and the Tools window open in the upper left hand corner. The Colors window is open in the lower left hand corner, however, it is not necessary for this application. If they are not open, select each one from the Window drop down menu.

2. Edit your photo to your liking. Rotating, cropping, and resizing if applicable.

3. Open your watermark document. It will appear in the upper right hand corner once open.

4. With the screen showing the watermark document, select Select All from the Edit drop down menu. (Edit / Select All) Notice there is only one layer in the Layer window.

5. Then select Copy from the Edit drop down menu. (Edit / Copy) There is still one layer in the Layers window.

6. Select your photo from the upper right hand side of the window.

7. Select Paste in New Layer from the Edit drop down menu. (Edit / Paste in to New Layer)

8. Your watermark will appear on top of your photo and there is now TWO layers in the Layers window.

9. Select Move Selected Pixels tool from the Tools window on the left. Click on the watermark and drag it to where you want to place it.

I suggest placing it at the bottom of your photo where it obstructs as little of your project as possible.
10. Once you have the watermark situated where you want it, select Merge Layer Down from the Layers drop down menu. (Layers / Merge Layer Down)

Once the layer is merged down, there will be only ONE layer in the Layers window.

11. Select Save As from the File drop down menu.

12. Name your document, and select where you want it to be save. Then click the SAVE button.

13. Click OK.

14. You are done!